A photo or video circulating online almost always comes with a claim attached: this happened here, at this time. GEOINT — geospatial intelligence — is the discipline of checking whether that claim actually holds up, using satellite imagery, maps, and visual clues in the image itself to pin down where and when something really happened. It’s one of the more accessible corners of OSINT to start learning, since 2026’s free satellite imagery landscape has genuinely opened this up: resources that used to require expensive commercial access now offer 3–5 meter resolution imagery at no cost, turning geolocation from a specialized intelligence capability into something any beginner can practice.
Here’s the core technique, a realistic free toolkit, and how to actually use this responsibly.
What GEOINT is actually verifying
Most GEOINT work in an OSINT context boils down to one core question: can the location and timing claimed for a piece of media actually be confirmed independently? This matters constantly in journalism, disaster response, supply chain verification, and conflict monitoring — situations where a claim about where and when something happened needs to be checked against something more reliable than the caption it arrived with.
The core skill: reading visual clues
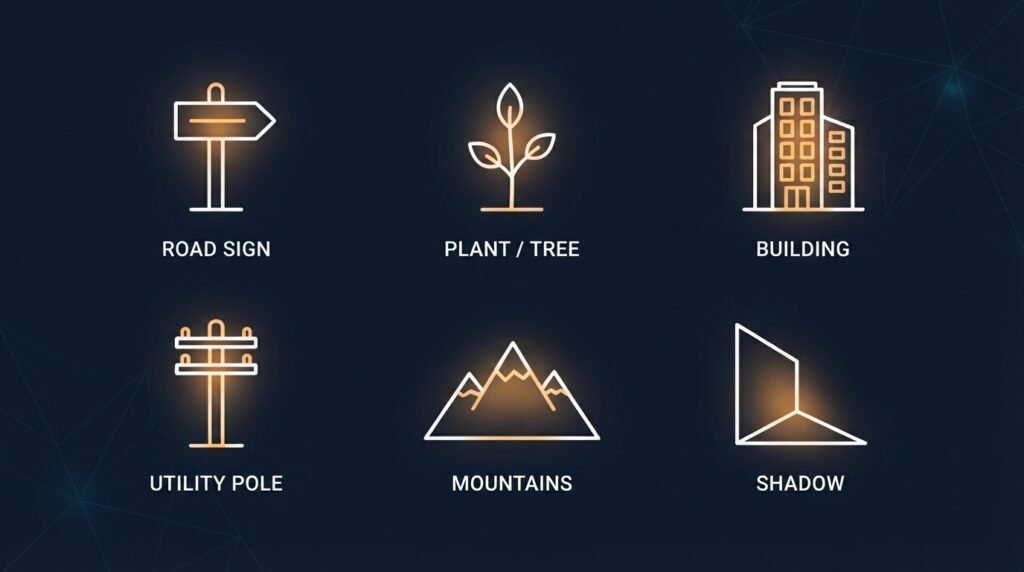
Before touching a satellite tool, most of the real work happens by simply looking closely at the image itself. Trained analysts are taught to systematically extract:
- Architecture and infrastructure — building styles, road markings, utility poles, and signage that can narrow down a region or even a specific country.
- Vegetation and terrain — plant types, terrain shape, and climate cues that rule out or confirm a general geography.
- Language and text — any visible signage, license plates, or written language, which can narrow a search dramatically.
- Shadows and lighting — the angle and length of shadows, which feed directly into one of the most powerful verification techniques available.
Chronolocation: using shadows to confirm time and place
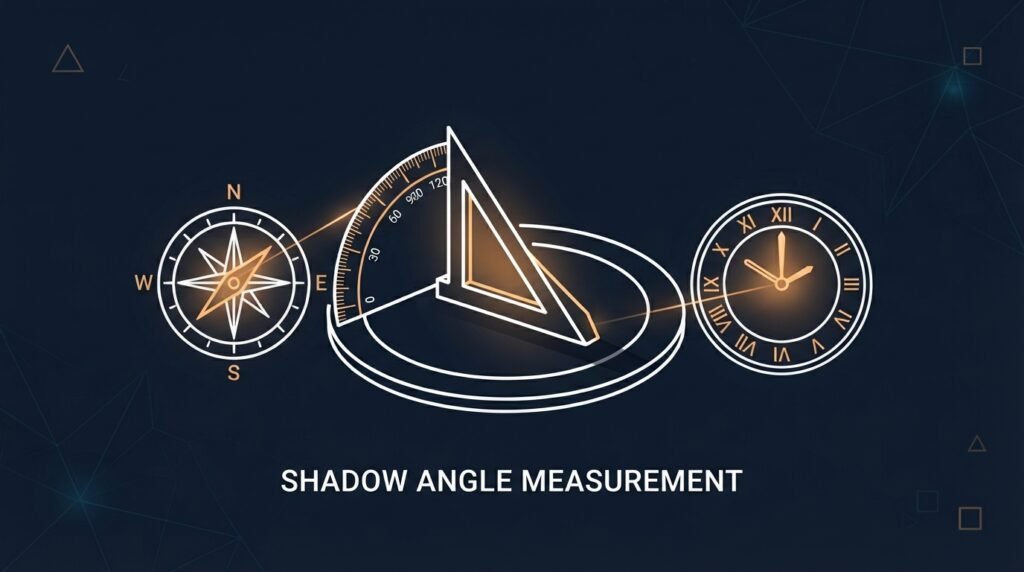
This is the technique that separates a beginner’s guess from a defensible finding. Chronolocation uses the angle and direction of shadows in an image to calculate the sun’s position at the moment it was taken — and because the sun’s position for any given location and date is a matter of predictable astronomy, working backward from a shadow angle can confirm or rule out a claimed time and location with real precision. Combined with visual clue matching, this kind of multi-layered analysis — satellite confirmation, sun angle calculation, and street-level cross-referencing together — is what gives a geolocation finding real confidence, rather than resting on any single piece of evidence alone.
A realistic free toolkit to start with
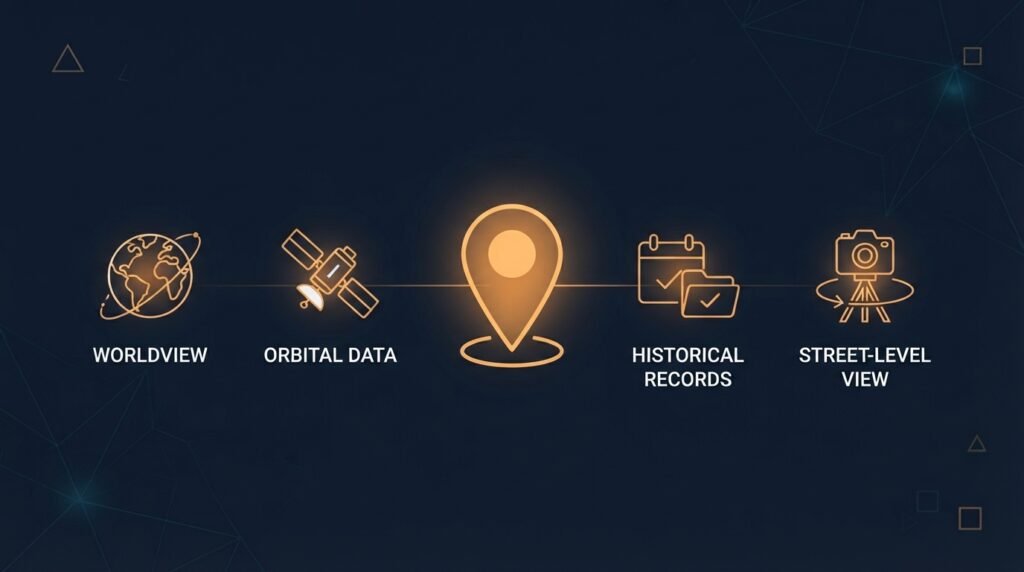
- Google Earth Pro — free desktop software offering historical imagery layers and measurement tools, and still one of the most commonly recommended starting points for geolocation work.
- Copernicus Browser (Sentinel-2 data) — free access to the European Space Agency’s satellite archive, useful for both current and recent historical imagery.
- NASA Worldview — near-real-time satellite imagery, well suited to tracking large-scale, fast-moving events as they unfold.
- USGS EarthExplorer — a deep historical archive, useful when you need to confirm what a location looked like months or years before the image in question.
- Dual Maps — combines synchronized satellite imagery and street-level views in one interface, making it easier to cross-reference a photo’s ground-level details against an overhead view of the same spot.
For fast-moving events specifically, tools like GDELT and LiveUAMap aggregate and map news and social media reports in near real time — useful for narrowing down where and when to actually look before you start pulling detailed imagery.
A basic beginner workflow
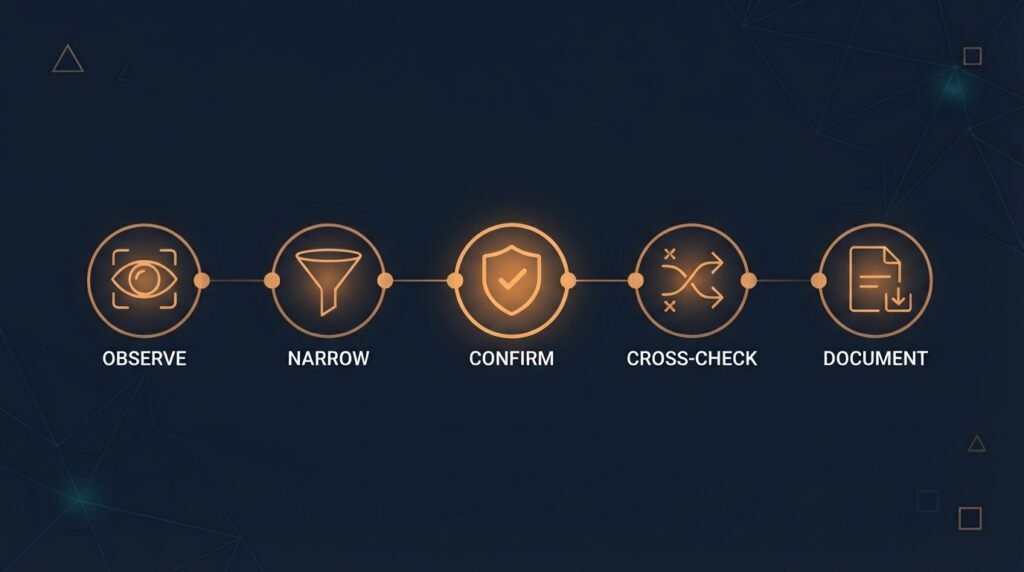
- Observe. Study the image itself first, listing every visual clue — architecture, terrain, signage, shadows — before touching any external tool.
- Narrow. Use those clues to narrow the search to a plausible region, then a specific area, using maps and general knowledge of the geography involved.
- Confirm. Cross-reference the narrowed location against satellite and street-level imagery, looking for a specific match in layout, structures, or landscape.
- Cross-check with chronolocation. If timing matters, calculate the shadow angle against the claimed date and location to confirm or challenge the timestamp.
- Document everything. As covered in our post on link analysis, every claim needs a traceable source — save the imagery, note the tools and dates used, and record your reasoning, not just your conclusion.
Using this responsibly
GEOINT techniques are built around verifying events, claims, and media — not tracking specific private individuals. The legitimate uses covered above (journalism, disaster response, supply chain and infrastructure verification, conflict monitoring) all share a common thread: confirming what happened in a public event, not surveilling a person’s movements. If your work ever shifts toward locating a specific individual rather than verifying a claimed event, that’s a different category of activity with real legal and ethical weight attached, and it’s worth involving legal counsel before proceeding, the same guidance covered in our post on building an OSINT monitoring dashboard.
It’s also worth remembering, as covered in our post on the human-in-the-loop problem: a geolocation finding that “looks right” still needs to be treated as a hypothesis until it’s confirmed through multiple independent techniques, not a conclusion the moment one landmark seems to match.
The bottom line
GEOINT turns a bare visual claim into something you can actually check — and 2026’s free satellite imagery landscape means this is genuinely learnable without a specialized budget or a government-level toolkit. Start by training your eye on the visual details already sitting in the image itself, layer in satellite and street-level confirmation, and use chronolocation whenever timing is part of the claim. The goal isn’t a guess that feels plausible; it’s a finding you could actually defend, backed by more than one independent source.
This builds directly on our earlier posts on the OSINT toolkit and link analysis — both worth reading alongside this one as you build out a fuller verification practice.
Leave a Reply