
The OSINT tool landscape is enormous and growing fast — the global market for this kind of work is projected to grow roughly tenfold over the next decade. For a beginner, that volume is more overwhelming than helpful. You don’t need fifty tools open in fifty tabs. You need a small, reliable starting set that covers the categories real investigations actually draw on, plus the habits to use them responsibly.
Here are 15 tools worth learning first, organized by what they’re actually for — building on the workflow and dashboard-building ideas from our earlier posts in this series.
Before the tools: how to use them responsibly
Every tool below works only on information that’s already public — nothing here involves hacking, bypassing logins, or accessing anything private. That said, “public” doesn’t mean “anything goes.” Use these tools on your own accounts, your own organization’s infrastructure, authorized research, journalism, or clearly defensive security work — not to research or track private individuals without a legitimate, documented reason. A username match or an old breach record isn’t proof of anything on its own; treat every finding as a lead to verify, not a conclusion.
Where to start: the map, not the territory
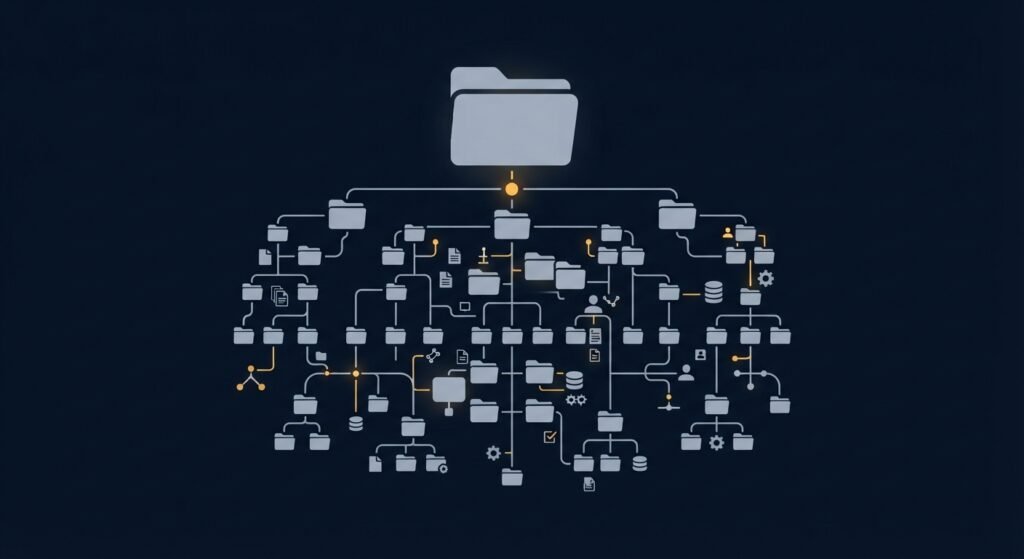
1. OSINT Framework — Not a tool itself, but a curated directory of hundreds of OSINT tools organized by category: social media, domains, geolocation, breach data, and more. This is genuinely the right first stop, since it teaches you the landscape before you commit to learning any single tool.
Search and public records
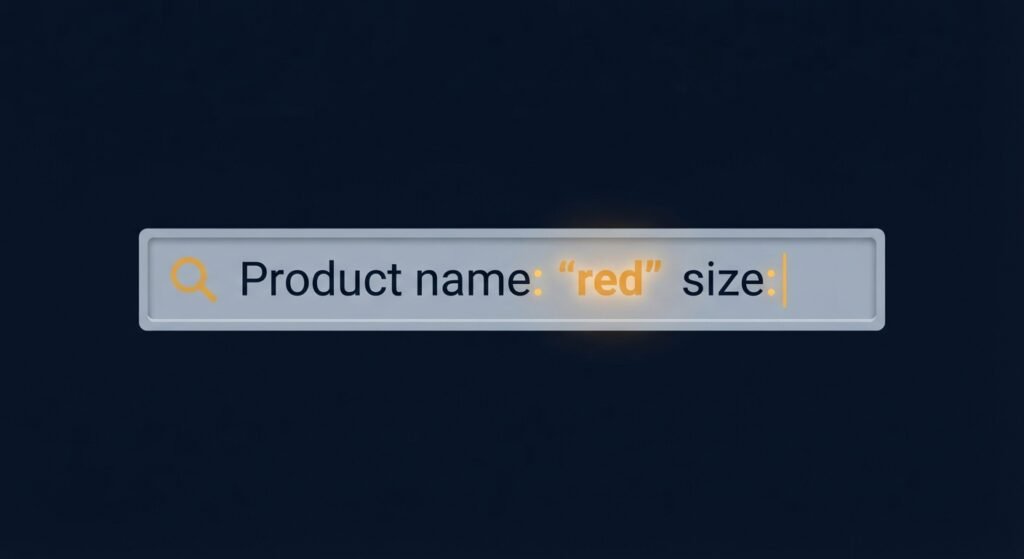
2. Google Dorking — Using advanced search operators (like site:, filetype:, and intitle:) to find specific information indexed publicly but buried too deep for a normal search to surface. This is a technique more than a tool, and it’s one of the most useful skills in this entire list, costing nothing to learn.
3. Wayback Machine — The Internet Archive’s tool for viewing how a website looked at an earlier point in time. Genuinely essential for verifying claims about what a site used to say, tracking how a domain’s ownership or purpose has changed, or recovering content that’s since been deleted.
Domain and infrastructure reconnaissance
4. DNSDumpster — Maps a domain’s subdomains and DNS infrastructure, useful for spotting forgotten or unmanaged assets attached to your own organization, or understanding a suspicious domain’s setup.
5. crt.sh — Searches public certificate transparency logs, which often reveal subdomains and infrastructure a company didn’t intend to expose, since every publicly issued SSL certificate gets logged whether the owner advertises it or not.
6. Shodan — Often described as a search engine for internet-connected devices rather than websites. It lets you find exposed servers, cameras, and infrastructure the way an attacker would — genuinely valuable for checking your own organization’s exposure before someone else finds it first.
7. Censys — Similar territory to Shodan, scanning and indexing internet-facing infrastructure, often used alongside it for a more complete view of exposed systems.
Automated collection and correlation
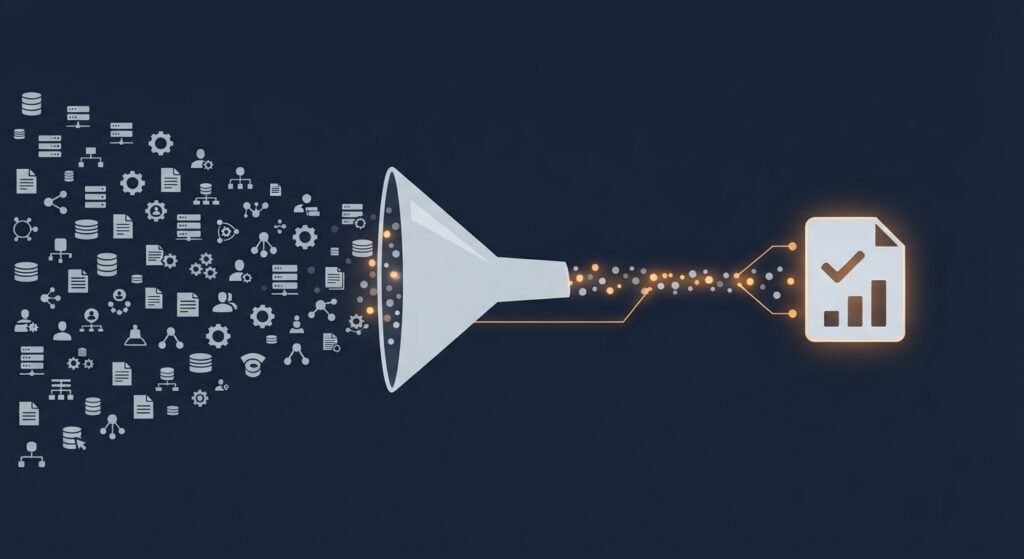
8. SpiderFoot — An open-source automation tool that pulls data from over 100 sources — DNS, WHOIS, breach databases, social media, and more — in a single scan. It’s one of the most commonly recommended starting points precisely because it saves a beginner from manually repeating the same lookups across a dozen separate tools.
9. theHarvester — A free command-line tool focused specifically on gathering emails, subdomains, and related information tied to a domain. It’s a good next step once you’re comfortable with the basics and want a faster, more targeted tool for domain and email reconnaissance.
10. Maltego (Community Edition) — A visual link-analysis tool that maps relationships between people, domains, companies, and infrastructure as an interactive graph rather than a list. The free Community Edition has real limitations compared to the paid version, but it’s enough to learn how relationship-mapping actually works, and it meaningfully speeds up spotting connections a text-based tool would leave you to piece together manually.
Breach and exposure checking
11. Have I Been Pwned — Checks whether an email address or domain has appeared in known data breaches. This is one of the most immediately useful tools on this list: the results are concrete, actionable, and directly tied to real risk, not just interesting background.
12. VirusTotal — Checks a suspicious file, URL, or domain against dozens of antivirus and threat-intelligence engines simultaneously, useful for quickly assessing whether something is known-malicious before investigating further.
Media and metadata verification
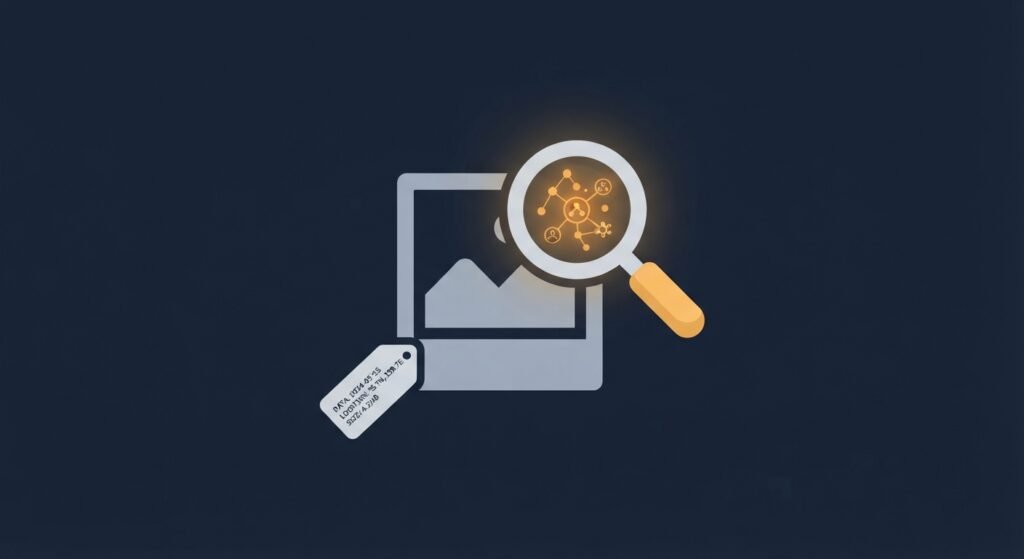
13. ExifTool — Extracts metadata embedded in image and document files — camera model, timestamps, and sometimes GPS coordinates — which can help verify or challenge a claim about where and when a piece of media was actually created. This pairs directly with the media-verification habits covered in our deepfakes post.
14. Reverse image search (Google Images / TinEye) — Checking whether an image has appeared elsewhere online, in a different context or at an earlier date, is one of the fastest ways to catch recycled or mislabeled content, which remains far more common than fully synthetic fakes.
Username and identity verification
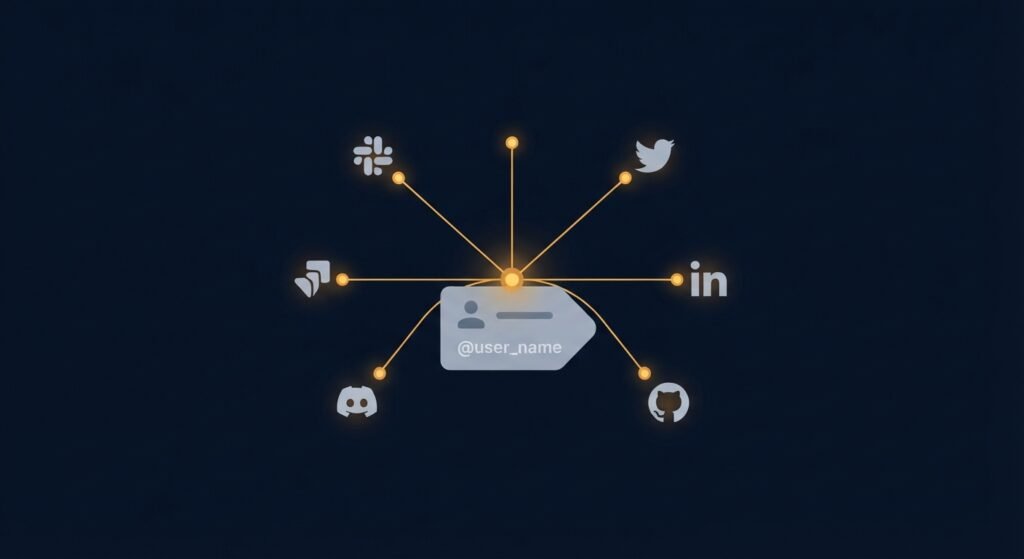
15. Sherlock / WhatsMyName — Searches for a given username across hundreds of platforms at once, useful for verifying whether an account claiming to represent your business or a known contact is genuinely linked to accounts elsewhere. Use this carefully: a matching username is a lead, never proof that different accounts belong to the same person — treat it as one data point to verify, not a conclusion to publish.
Building a habit, not just a tab full of bookmarks
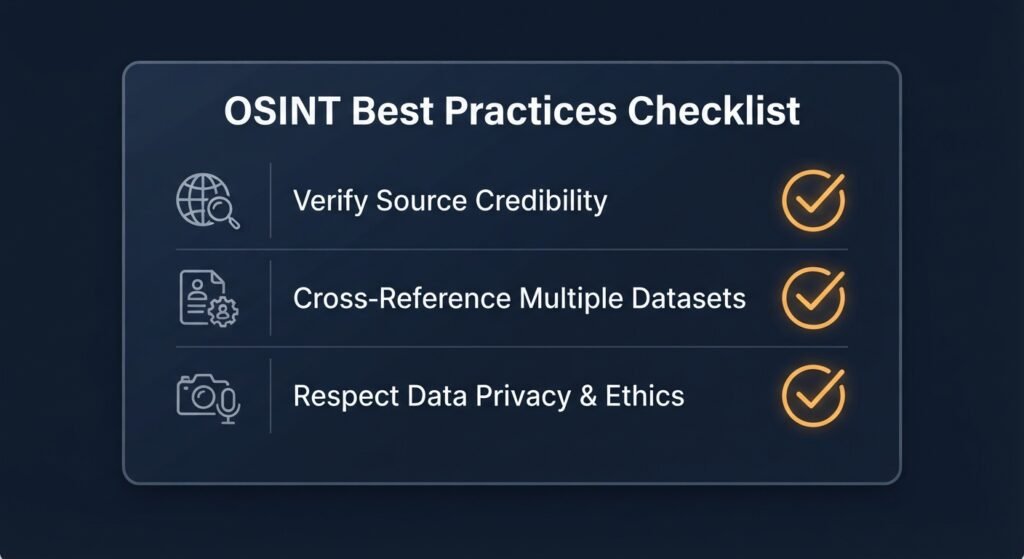
- Keep a practice notebook. For every finding, log the source URL, date, tool used, and a short note — the same documentation discipline covered in our dashboard-building post.
- Verify before you conclude. A breach result shows historical exposure, not necessarily active compromise. An old domain record may no longer be accurate. Treat every result as a signal to check, not a final answer.
- Start narrow. Pick one category — domains, breach checking, image verification — and get comfortable with two or three tools in it before trying to learn all fifteen at once.
The bottom line
You don’t need every tool in this space to get real value from OSINT — you need a handful covering the categories that matter (search, infrastructure, breach exposure, media verification) and the discipline to verify what you find before acting on it. Start with the OSINT Framework to see the landscape, pick two or three tools from the categories most relevant to what you’re actually trying to protect or investigate, and build from there.
This toolkit pairs directly with our earlier posts on building your first OSINT monitoring dashboard and the human-in-the-loop problem — both worth reading as you turn these individual tools into an actual ongoing practice.
Leave a Reply